Initial actions
Initial actions described below are needed to be done before starting to do exercises on this course (unless you have done the corresponding actions by using command line as explained in section Using Git on this course on round 1).
The instructions below refers to your personal repository and its address. They can be found from the aforemention Plussa section.
Creating a local repository and working copy goes as follows in Qt Creator.
To be able to use Git via Qt Creator in remote desktop environment,
you must modify a setting.
In Qt Creator, open Tools -> Options -> Version Control, and
in the opened dialog at ”SSH prompt command:”, write the following string:
/usr/libexec/openssh/gnome-ssh-askpass
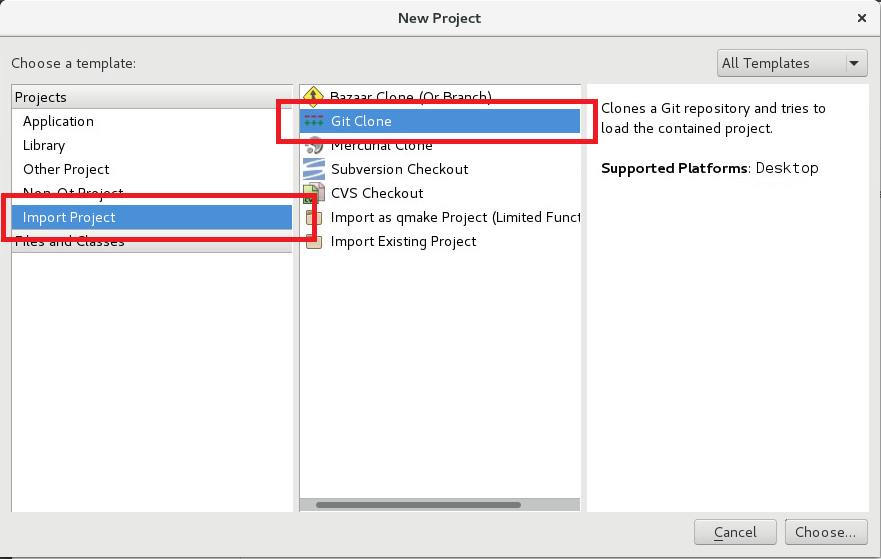
Then you can create a local repository by choosing ”New Project” in Qt Creator. You have earlier used the same command to create a new project, but now you are using it to clone a Git repository, and thus, in Projects window, you should select ”Import Project” and ”Git Clone”.
Click ”Choose…”, and in the opening dialog, at ”Repository:”, write the web address of your personal repository and at ”Path:”, choose the directory, where you want to clone the repository. A good idea is to use the directory that you have earlier created for the assignments of the course.
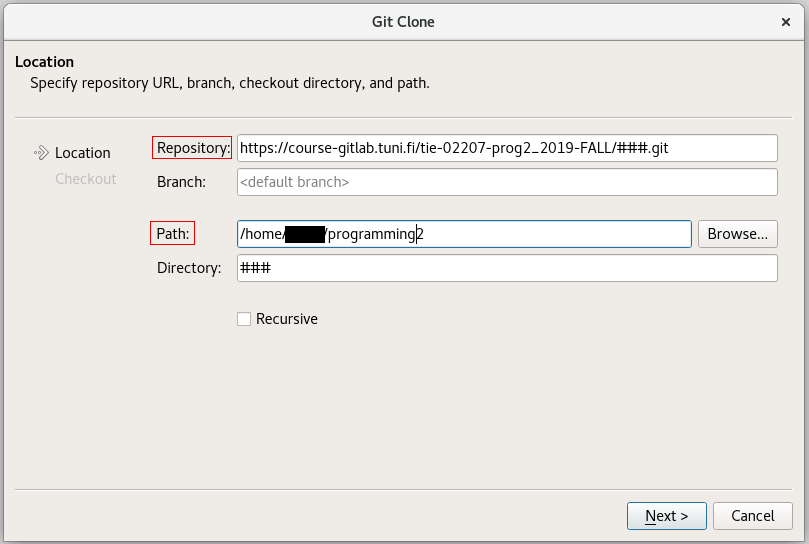
Click ”Next >”, when cloning will start. Input your intranet username and password, when they are asked.
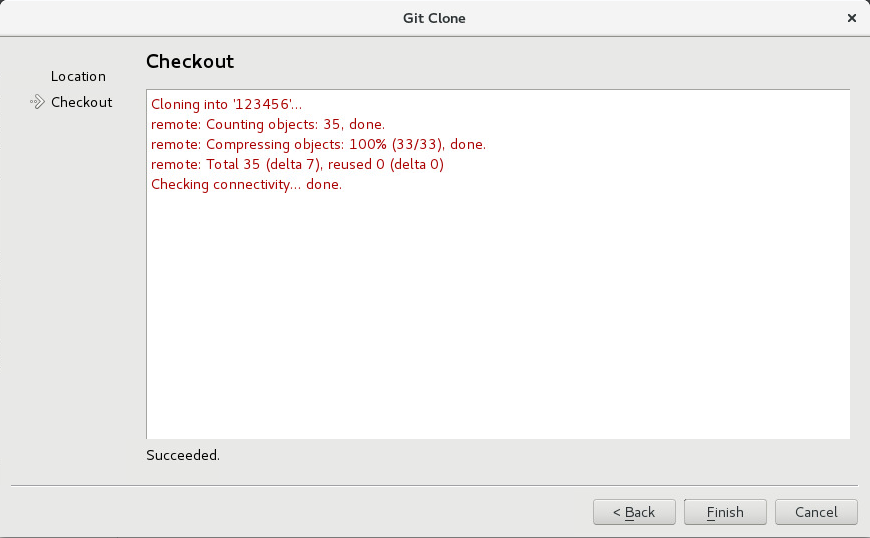
When everything is ready, click ”Finish”. Next Qt Creator will give an error message ”Failed to open project in <directory>”. This does not matter. Everything is all right. The error message is due to the difference between a project from the point of view of Qt Creator and that from the point of view of Git.